2. Project setup and pre-flight check
Ten files of code is a lot to type before finding out the environment isn't ready. The pre-flight below takes about five minutes and ends with a green tick: a tiny script that hits the OpenWeatherMap geocoder with the same retry shape §3 will formalise. If this works for you, the rest of the chapter will too.
1. Project folder and virtual environment
Open your IDE and navigate to wherever you keep code projects. Then create the chapter's project folder: weather_dashboard. This is where every file in this chapter lives, and where you run the code from.
Next, create a virtual environment inside the project folder. Then activate the environment.
python -m venv .venv

# macOS / Linux
source .venv/bin/activate

# Windows
.\.venv\Scripts\Activate.ps1
On Windows python -m venv .venv can take up to a minute the first time: Windows Defender scans every file as the venv bootstraps pip. The terminal will look frozen; it isn't. Wait for the prompt to return before continuing to activation.
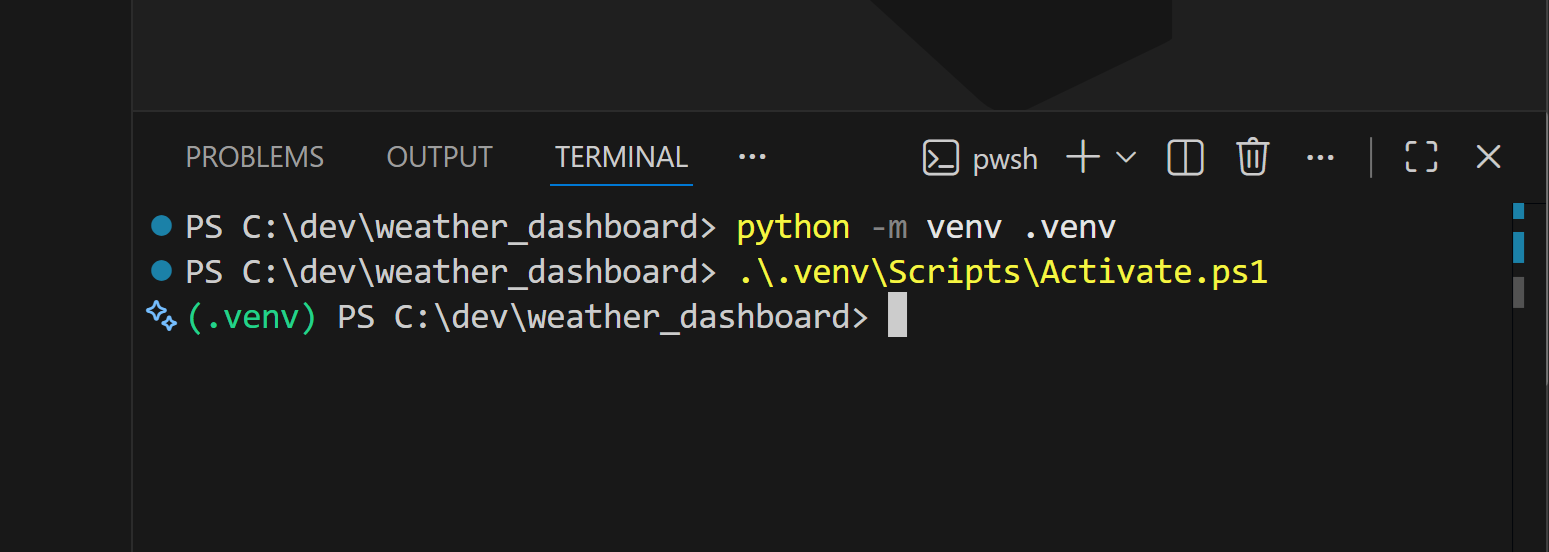
If your prompt now starts with (.venv), you're activated and can move on. If it doesn't, one of the two collapsibles below covers the most likely cause.
Windows: activation refused with a security error?
That's Windows blocking unsigned scripts by default. Run this once to allow them for your user account, then retry the activation:
Set-ExecutionPolicy -Scope CurrentUser -ExecutionPolicy RemoteSigned
Answer Y when prompted. This only needs doing once per machine; future projects inherit the setting.
macOS / Linux: python: command not found?
Some systems install Python as python3 rather than python. If python -m venv .venv fails with a "command not found" error, try python3 -m venv .venv and use python3 for the rest of this chapter's commands.
With the venv active, install the one runtime dependency the foundation modules need:
pip install requests
2. Get an OpenWeatherMap API key
The chapter uses two OpenWeatherMap endpoints (geocoding and current weather). Both are on the free tier. Sign up at openweathermap.org/api, copy your key from the API keys tab once it's active (this can take a few minutes after signup), and set it as an environment variable in the same shell you'll run the code from:
# macOS / Linux
export OPENWEATHER_API_KEY='your_key_here'

# Windows PowerShell
$env:OPENWEATHER_API_KEY = "your_key_here"
Both forms matter. The single quotes on POSIX and the equals-with-quotes on PowerShell aren't decoration: a missing equals sign on PowerShell silently sets nothing and the next step looks broken for reasons unrelated to the code.
Want a .env file instead of re-exporting every session?
Shell exports last only for the current terminal session: close the window and the key is gone, so you re-export every time. A .env file stores the variable in a project-local file that loads automatically when your code runs, surviving across sessions. This chapter's main app wires that pattern through config.py in §8, so once you reach the assembly section every script that imports config picks up .env automatically.
If you'd rather set .env up now and not re-export every session, the recipe is three steps: pip install python-dotenv, create a .env file at the project root containing OPENWEATHER_API_KEY=your_key_here, and add .env to .gitignore so the key never gets committed to source control (we ship the .gitignore file in §8's project structure). sanity_check.py in §3 reads from the environment directly, so for §2 and §3 you'll need either shell exports or these two lines at the top of sanity_check.py:
from dotenv import load_dotenv
load_dotenv()
3. The green tick: a sanity check with retry built in
Save this at the project root as sanity_check.py. It hits the geocoder for London with two retry attempts, the same shape retry_request() in §3 will formalise:
"""Pre-flight: confirm the toolkit + API key work, with retry."""
import os
import time
import requests

API_KEY = os.environ["OPENWEATHER_API_KEY"]
URL = "https://api.openweathermap.org/geo/1.0/direct"

for attempt in range(2):
    try:
        response = requests.get(
            URL,
            params={"q": "London", "limit": 1, "appid": API_KEY},
            timeout=5,
        )
        response.raise_for_status()
        result = response.json()[0]
        print(f"[OK] {result['name']}, {result['country']} "
              f"at ({result['lat']:.4f}, {result['lon']:.4f})")
        break
    except requests.RequestException as e:
        if attempt == 0:
            print(f"[retry] attempt 1 failed: {e}")
            time.sleep(1)
        else:
            print(f"[FAIL] both attempts failed: {e}")
Run it from the project root:
python sanity_check.py
You should see one line:
[OK] London, GB at (51.5074, -0.1278)
That's the green tick. Your folder, your venv, your API key, and the network all work, and the script ran a request with a retry loop wrapped around it. The two-attempt loop is the same shape retry_request() in §3 will formalise (production code adds jitter, exponential backoff, a configurable attempt budget, and category-aware decisions about whether to retry at all), but the structure is what you just ran.
4. Now break it on purpose
Change one line in sanity_check.py to point at a host that doesn't exist:
URL = "https://api.openweathermapXX.org/geo/1.0/direct"
Re-run. The first attempt fails (DNS lookup error), the script waits one second, the second attempt fails the same way, then the FAIL line appears:
[retry] attempt 1 failed: HTTPSConnectionPool(host='api.openweathermapXX.org', port=443): Max retries exceeded ...
[FAIL] both attempts failed: HTTPSConnectionPool(host='api.openweathermapXX.org', port=443): Max retries exceeded ...
Two things happened that the rest of the chapter is going to systematise. The failure didn't crash the script; it was caught and reported with context. And the retry didn't help in this case (the host genuinely doesn't exist), but the loop did the right thing: try, wait, try again, give up cleanly. §3 packages this shape into retry_request() with exponential backoff, jitter, configurable attempt counts, and error categorisation that decides which failures are worth retrying. §4 wraps it into a production client. What you ran above is the 15-line preview.
Restore URL to the real one before you turn the page. From §3 onwards every code block assumes you have this folder, this venv, and this API key in your environment.
Section 3 starts the build by importing the three utility modules every layer above it depends on.